Content Planner and Pipeline
Content Planner
Content Planner & Pipeline
Plan awareness day content across every channel. Use the calendar view to schedule content and the pipeline to track it from draft to published.
Overview
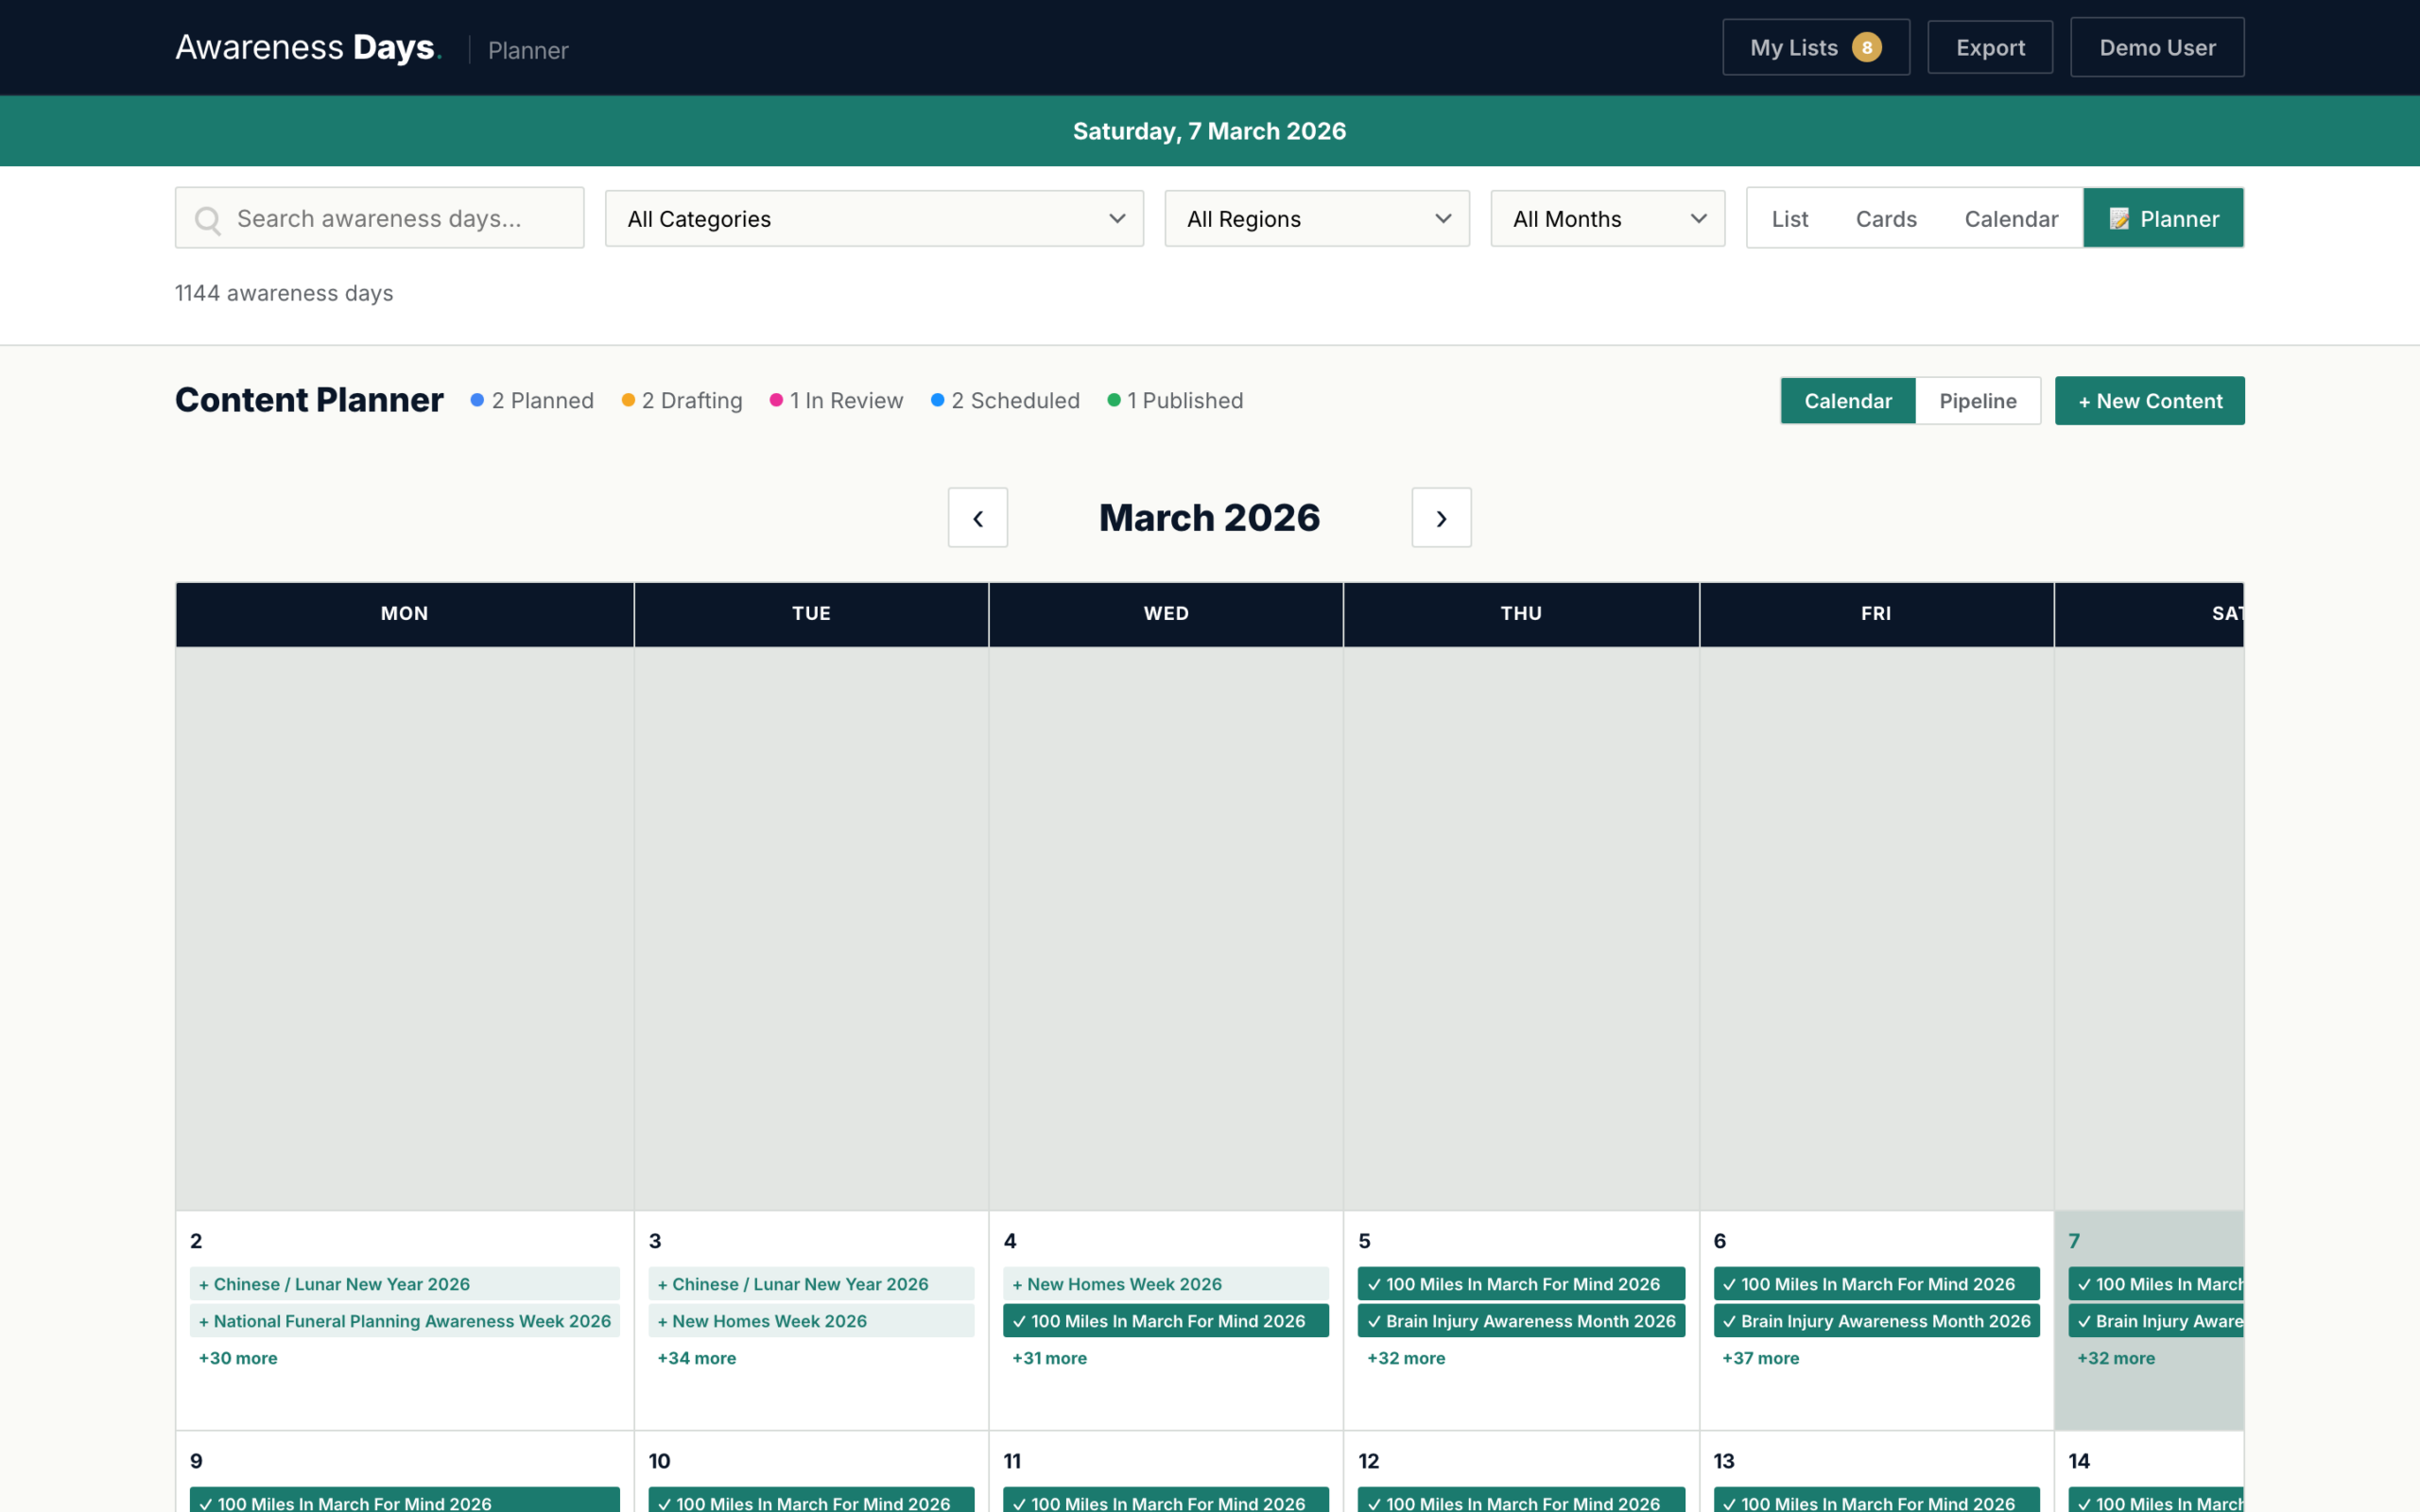
The content planner turns your saved awareness days into a working content calendar. Instead of just knowing when events happen, you can plan what you’ll publish, on which channels, and track each piece through your production workflow.
The planner has two views:
- Calendar view — a monthly grid showing your content items on their scheduled dates, alongside the awareness days they’re linked to
- Pipeline view — a Kanban-style board with five columns representing your workflow stages
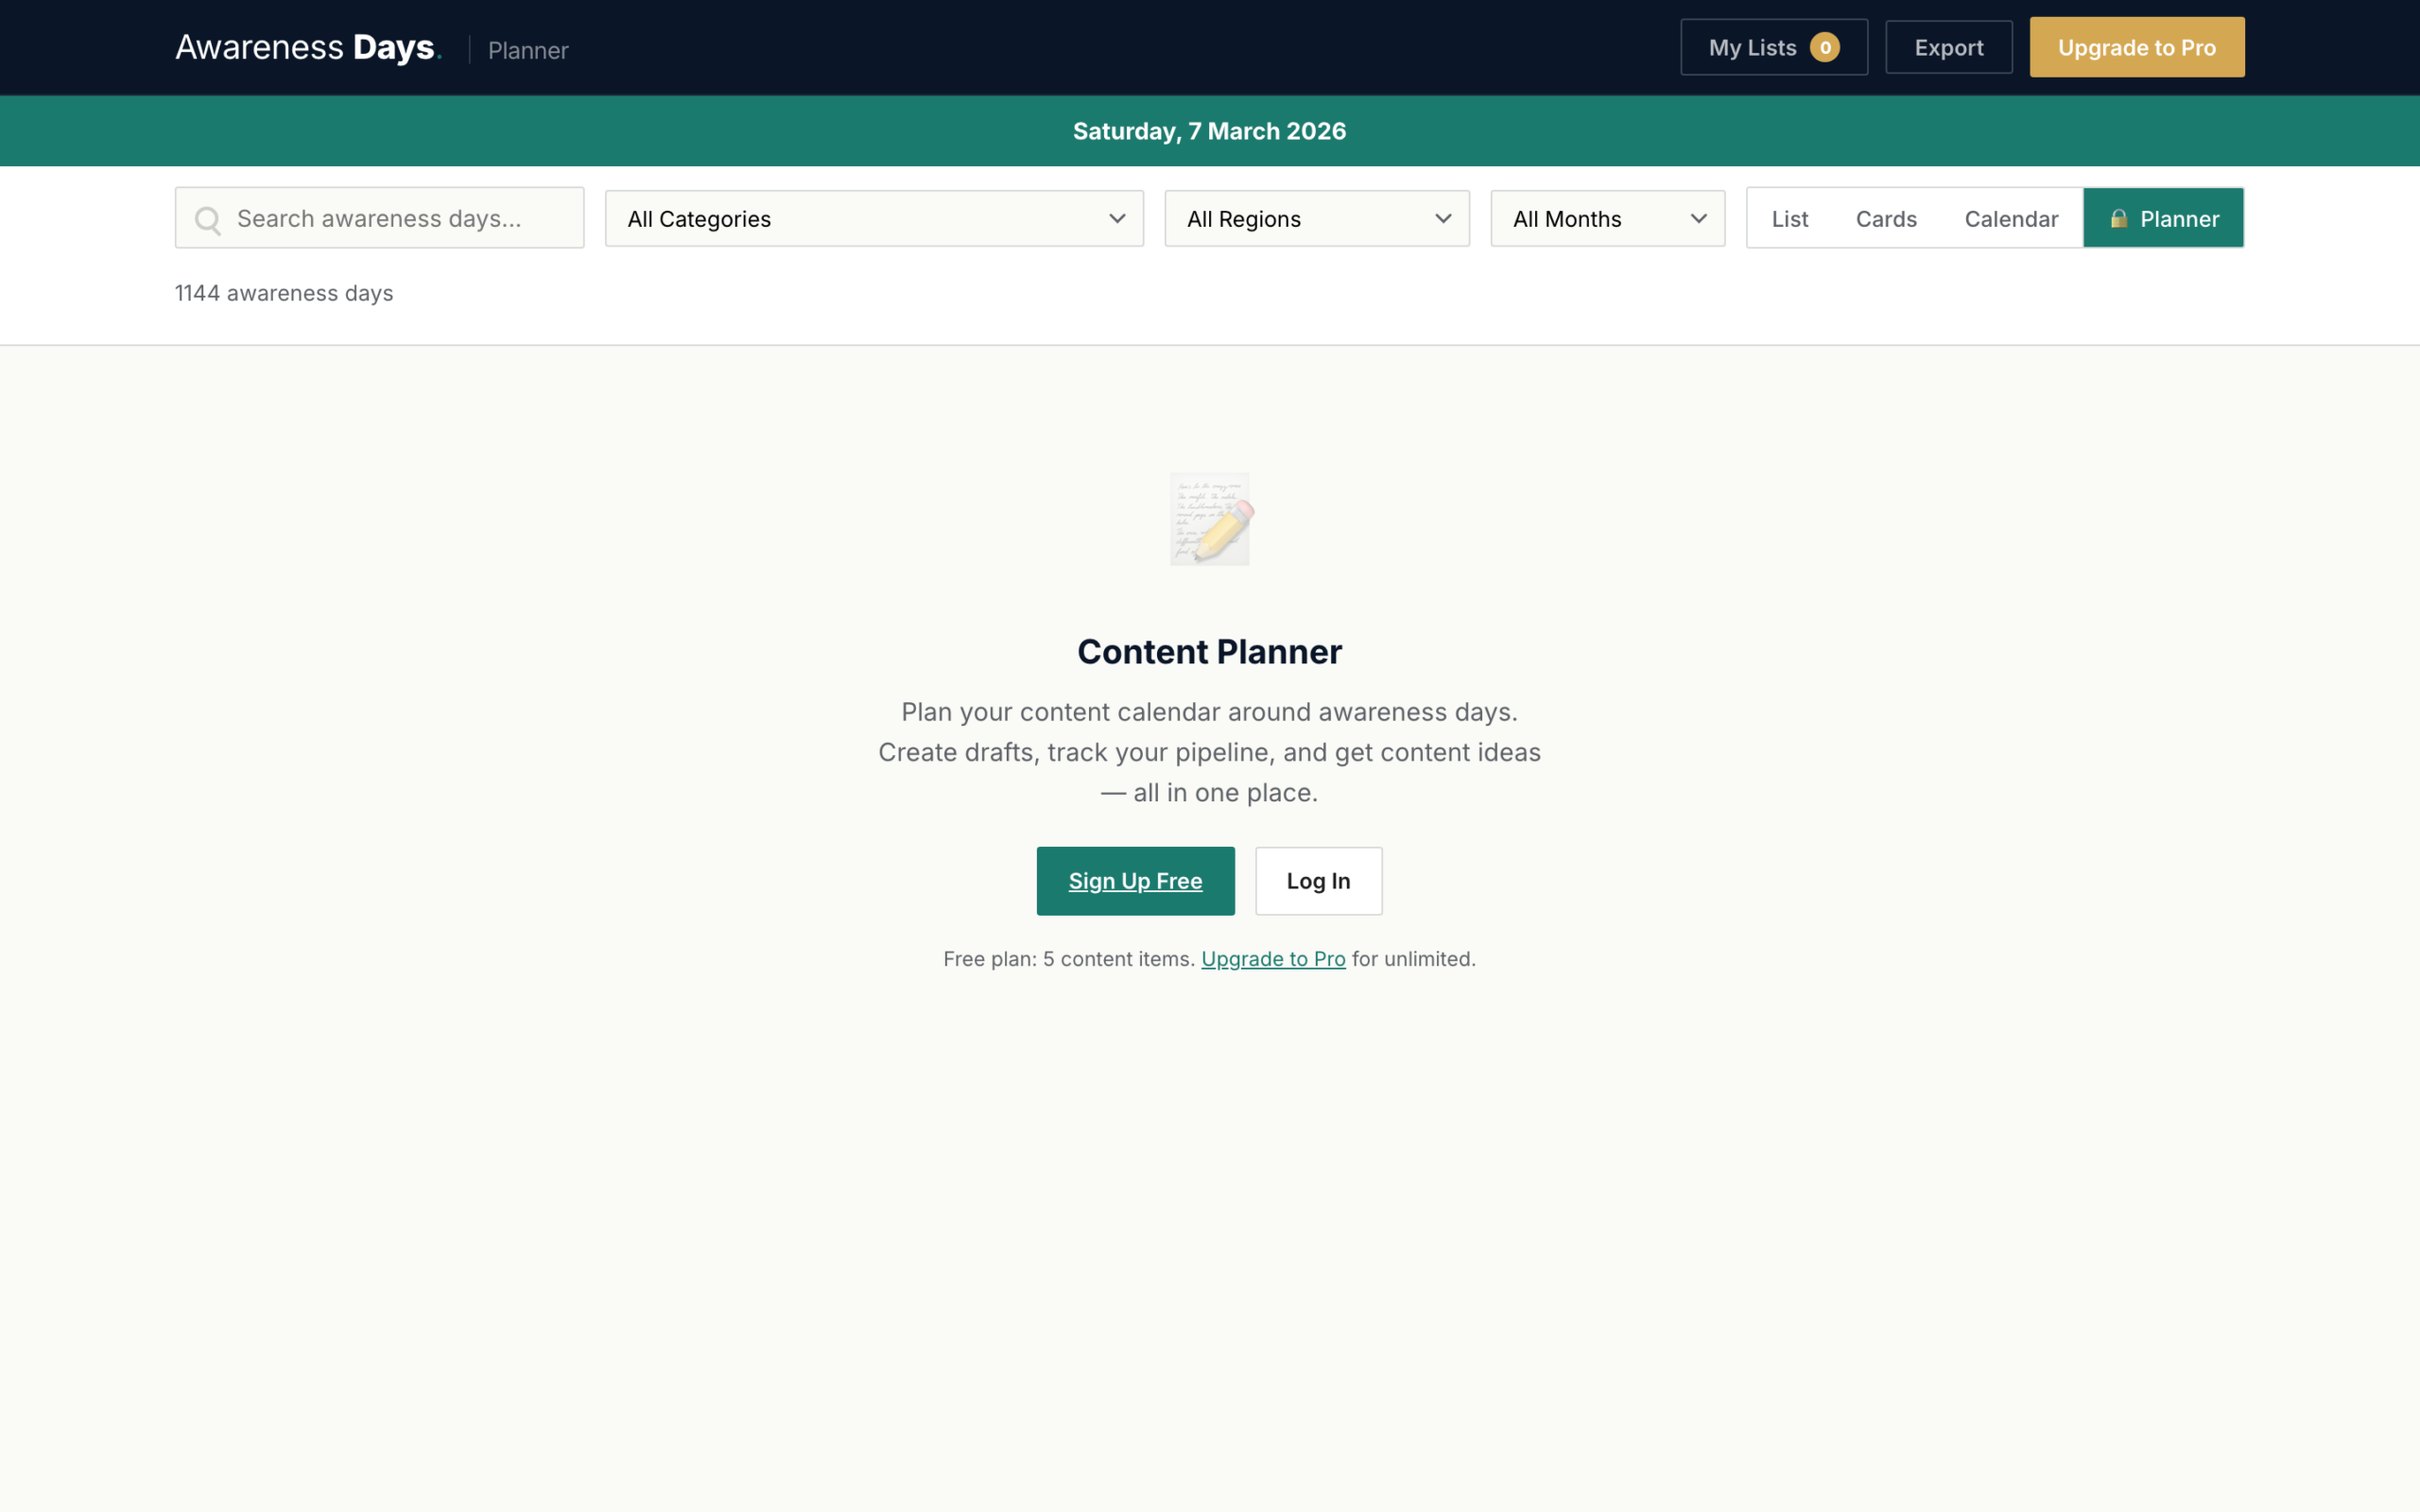
Accessing the planner
To open the content planner:
- Click the “Planner” tab in the view switcher toolbar. This is the fourth tab, after List, Cards, and Calendar.
- The interface switches to planner mode — the toolbar is replaced by the planner hero bar with the gold accent border.
- Choose your view — Calendar or Pipeline — using the buttons in the planner hero bar.
Creating content items
There are several ways to create a new content item:
From the planner calendar
Hover over any date in the planner calendar view and click the “+” icon that appears. This pre-fills the publish date with that day.
From an event detail modal
When viewing an event’s details, click “Add to Planner” to create a content item linked to that awareness day. The event is automatically selected.
From the pipeline view
Click the “+” button at the top of any pipeline column to create a new content item with that status pre-selected.
Content item fields
Each content item has the following fields:
| Field | Description |
|---|---|
| Linked event | The awareness day this content is about. Select from a searchable dropdown of all events. |
| Content type | The channel: Blog, Twitter/X, Instagram, LinkedIn, Facebook, Email, Press Release, or Other. |
| Status | Where this item is in your workflow: Planned, Drafting, In Review, Scheduled, or Published. |
| Publish date | When you plan to publish. This determines where the item appears on the calendar grid. |
| Headline | The working title or headline for your content piece. |
| Draft copy | A textarea for drafting your content, with a live character count. |
| Hashtags | Relevant hashtags, separated by commas or spaces. |
| Notes | Internal notes — links, references, feedback, or planning context. |
Calendar view
The planner calendar shows your content items on a monthly grid, colour-coded by status. Each day cell can show:
- Awareness day labels — the events happening on that date (shown as small teal labels)
- Your content items — shown as coloured pills indicating their workflow status
- An add button — hover over any date to reveal a “+” icon for creating new items
Use the month navigation arrows to move between months and the “Today” button to jump back to the current month.
Pipeline view
The pipeline is a Kanban-style board that organises your content items into five workflow columns:
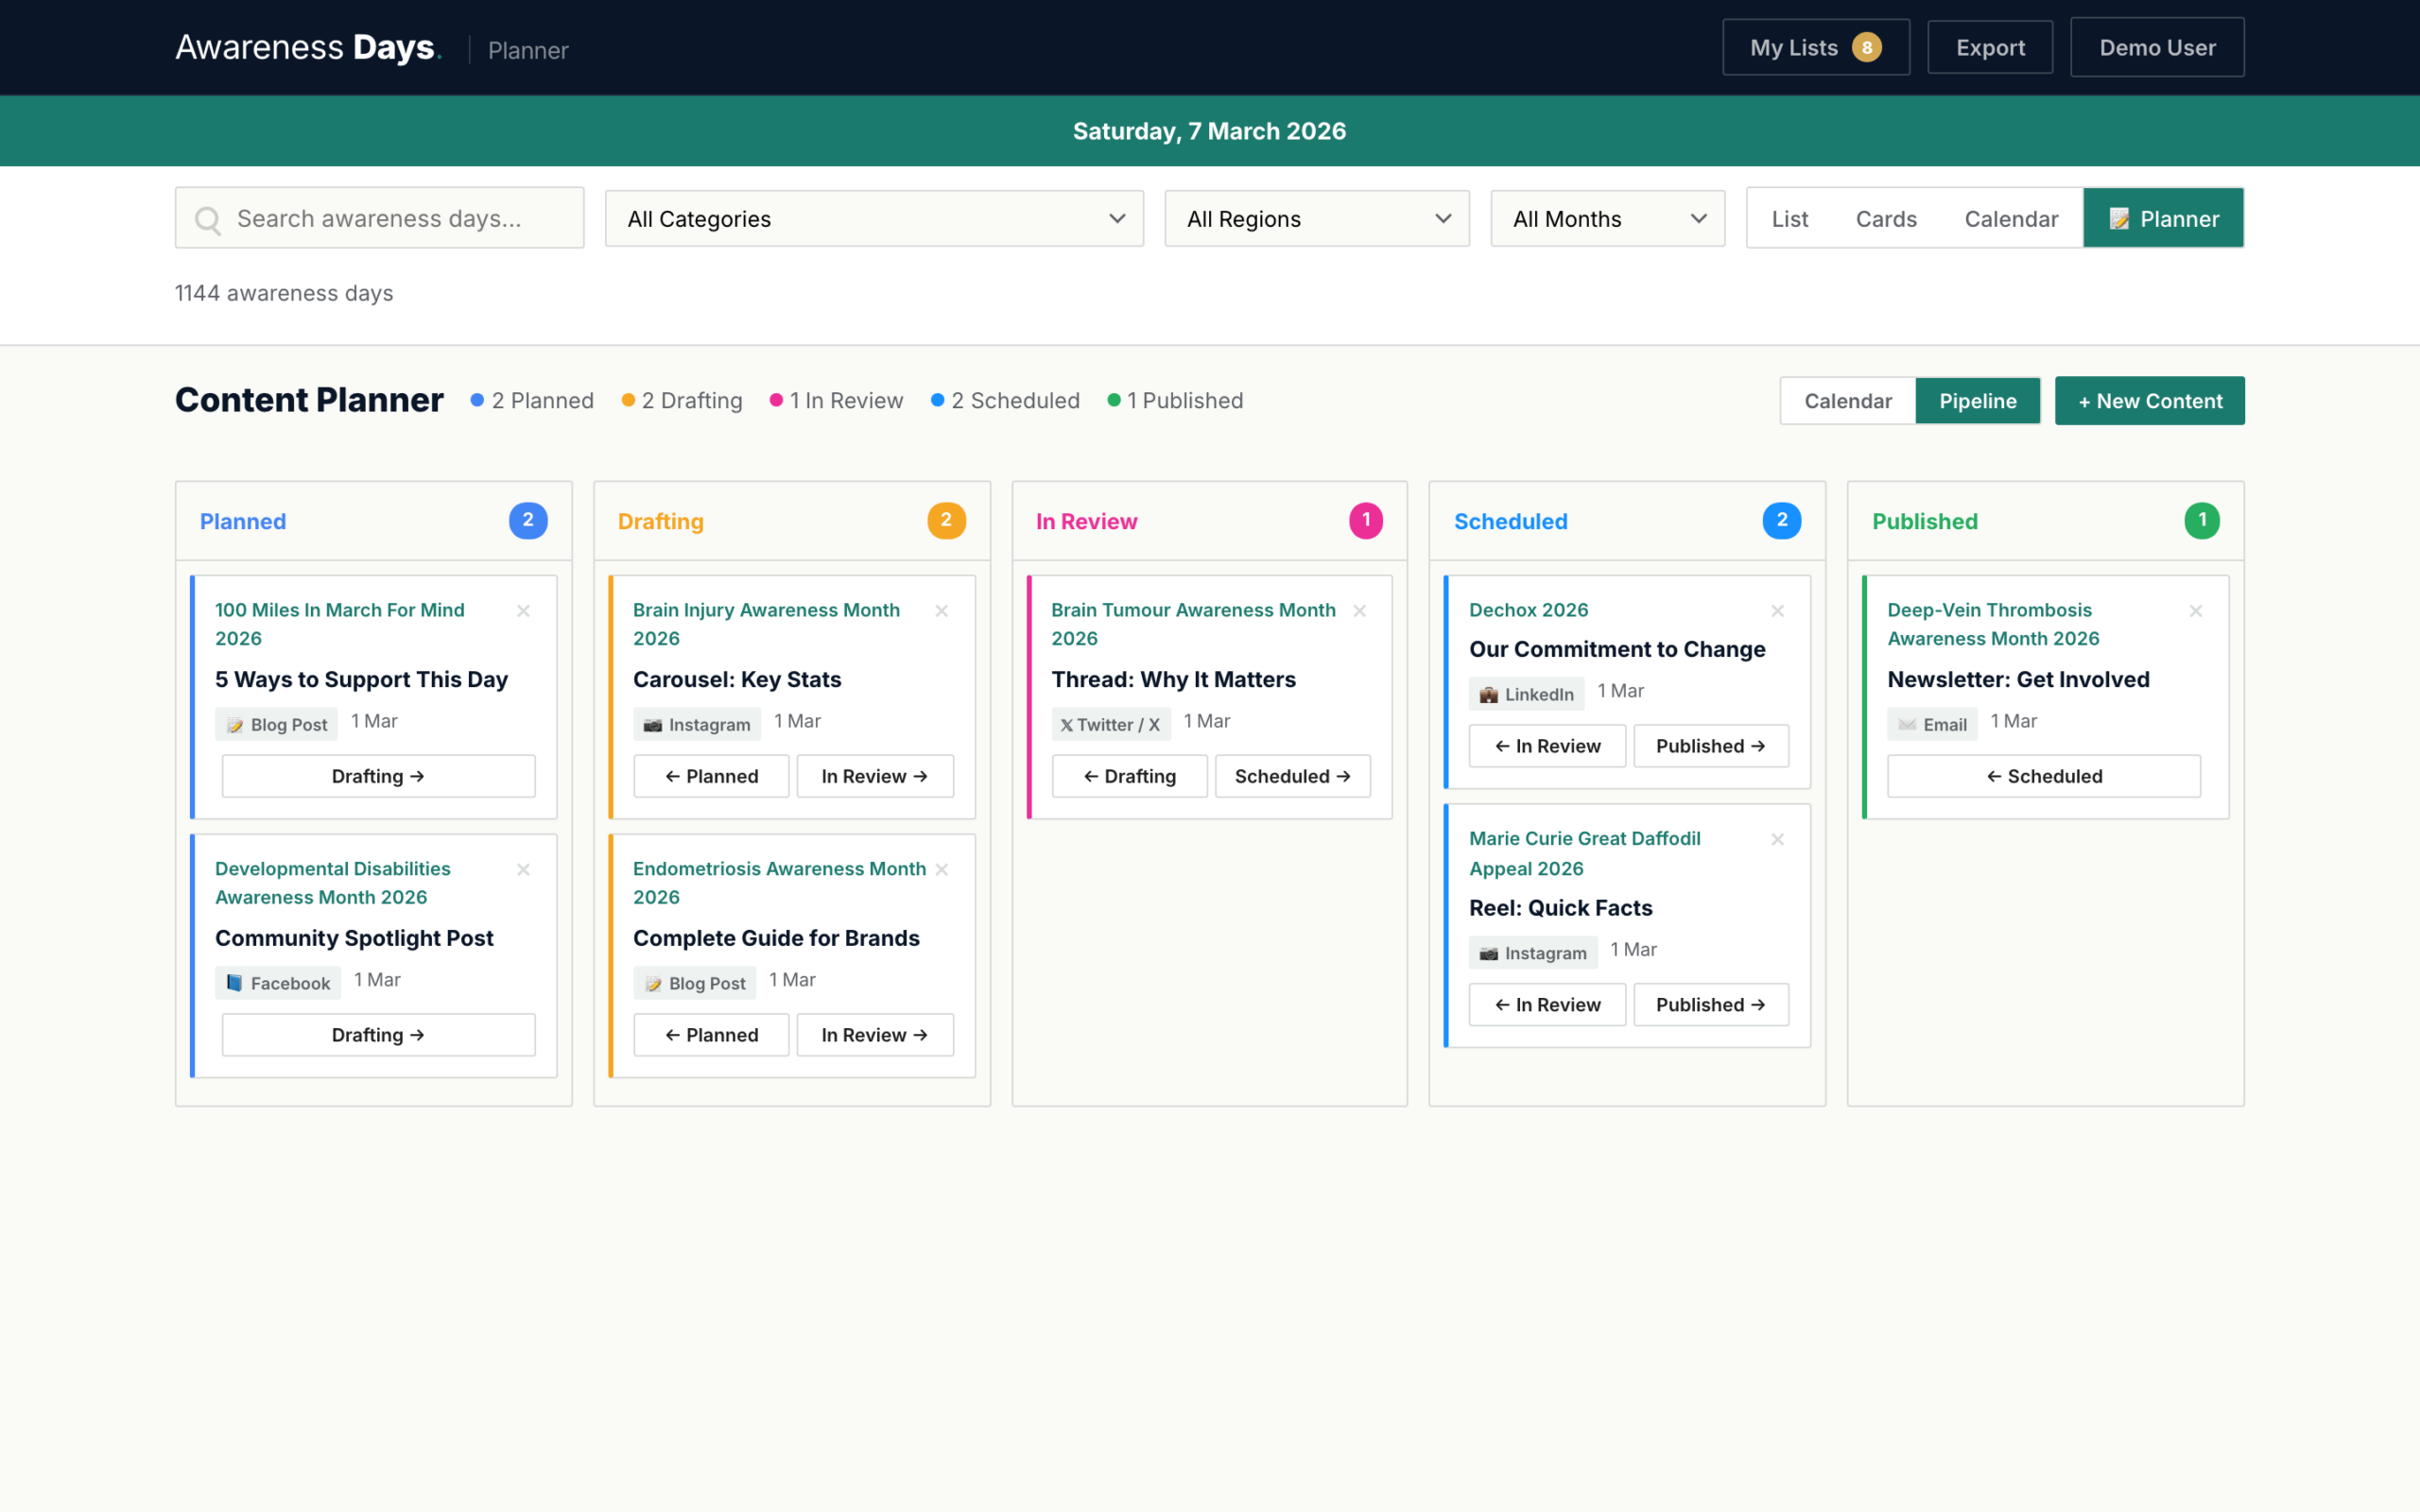
Each column shows a count of items and displays them as cards with:
- The linked awareness day name
- Content type badge (e.g. “Blog”, “Instagram”)
- Publish date
- Action buttons to move the item to the next or previous status
- A delete button
Cards have a coloured left border matching their status for quick visual identification.
Editing & deleting content items
To edit a content item, click on it in either the calendar or pipeline view. The content editor modal opens with all fields pre-filled. Make your changes and click “Save”.
To delete a content item:
- In the pipeline view, click the trash icon on the card
- In the editor modal, click the “Delete” button at the bottom
You’ll be asked to confirm before the item is permanently deleted.
Workflow statuses
Each content item progresses through five statuses. You can set the status when creating or editing an item, or use the arrow buttons in pipeline view to move items along.
| Status | Colour | Description |
|---|---|---|
| Planned | Grey | Event identified, content not yet started. Your backlog. |
| Drafting | Blue | Content is being written or designed. Work in progress. |
| In Review | Amber | Draft complete, awaiting approval or feedback. |
| Scheduled | Purple | Approved and scheduled for publication. |
| Published | Green | Live. Content has been published. |